

When I left you last on this project I'd filled in one of the box modules but of course I had 7 more to finish. With the sun shining this morning I headed out into the garden to tackle the remainder.
Part 1 of the build can be found here
http://shedwars.blogspot.co.uk/2014/09/egyptian-adventures-rocky-escarpments.html
As you will see from the pictures below it was a really productive day.
The shot below is the first box I finished with the filler now added over the polystyrene. This will take about 3 days to completely dry and at the point I can start on the ground and base work.

The first box built
a sense of scale? heres one cliff with a 28mm figure


In the above picture you can see the first box with the second alongside. The pre-cut side panels allow these to align up neatly.
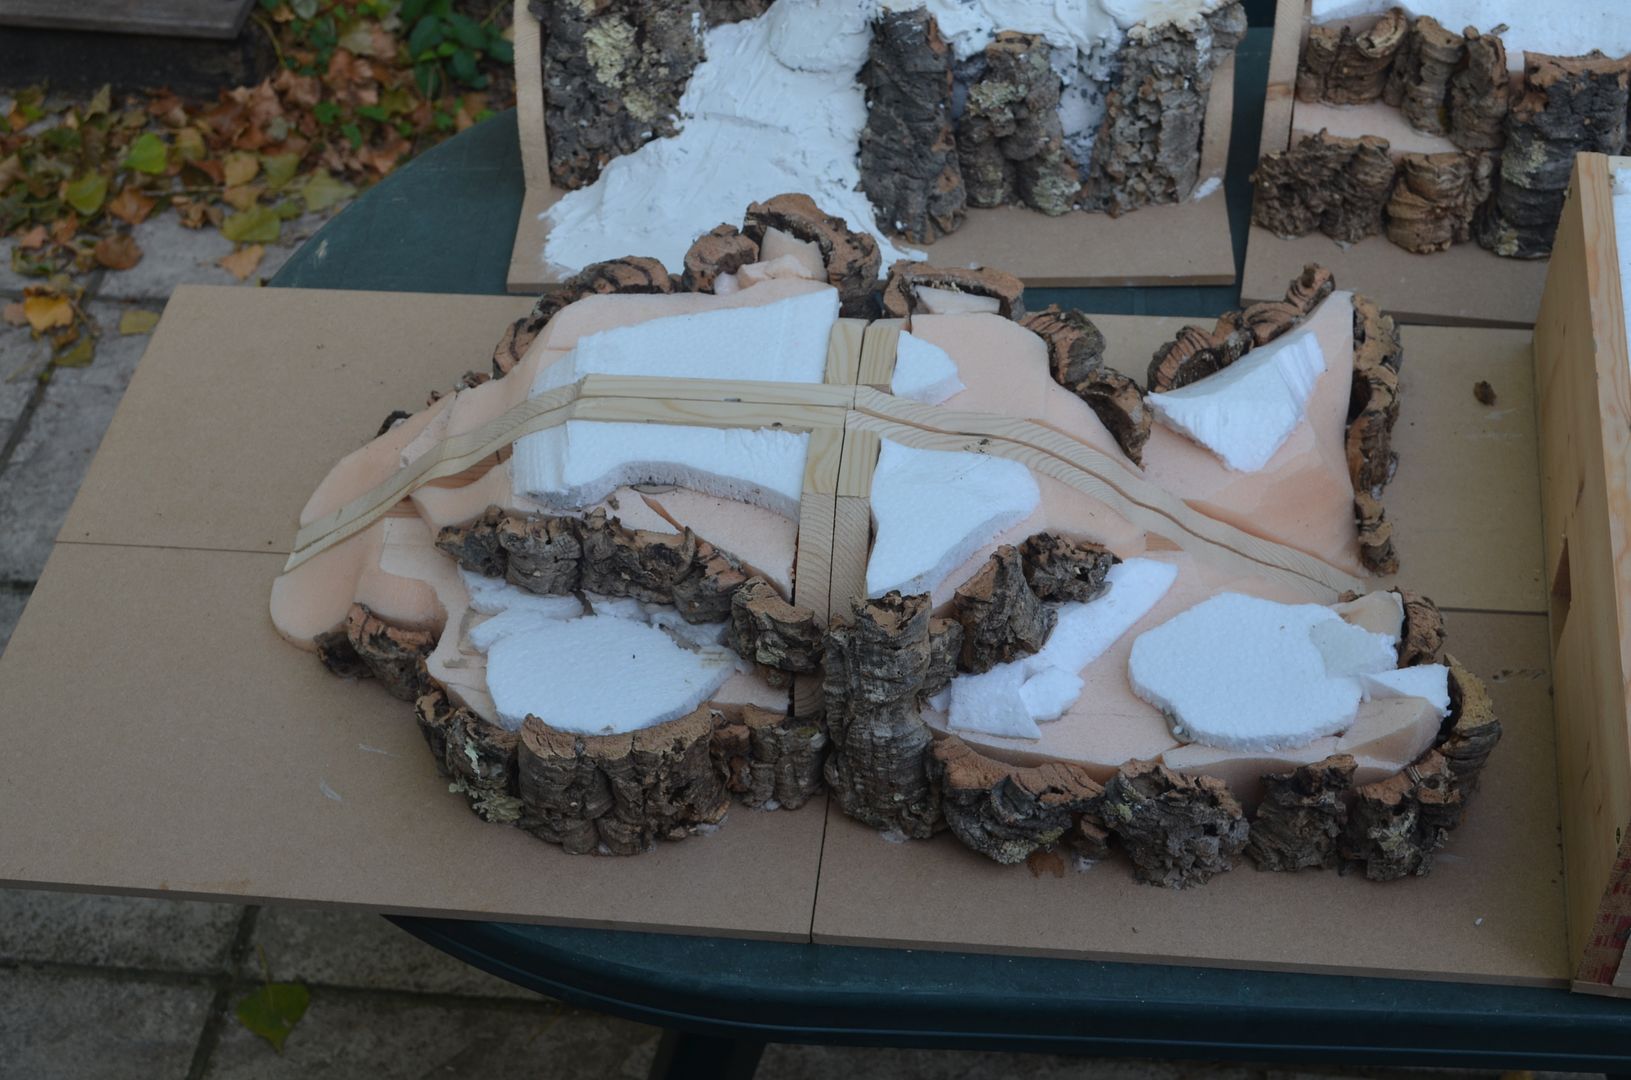
I thought you might be interested to learn how I fix the cork bark/cliff faces to the polystyrene inners. Quite simple really....I use barbecue skewers.
Just drill a hole in the bark and then push the skewer through. Not forgetting to add glue !

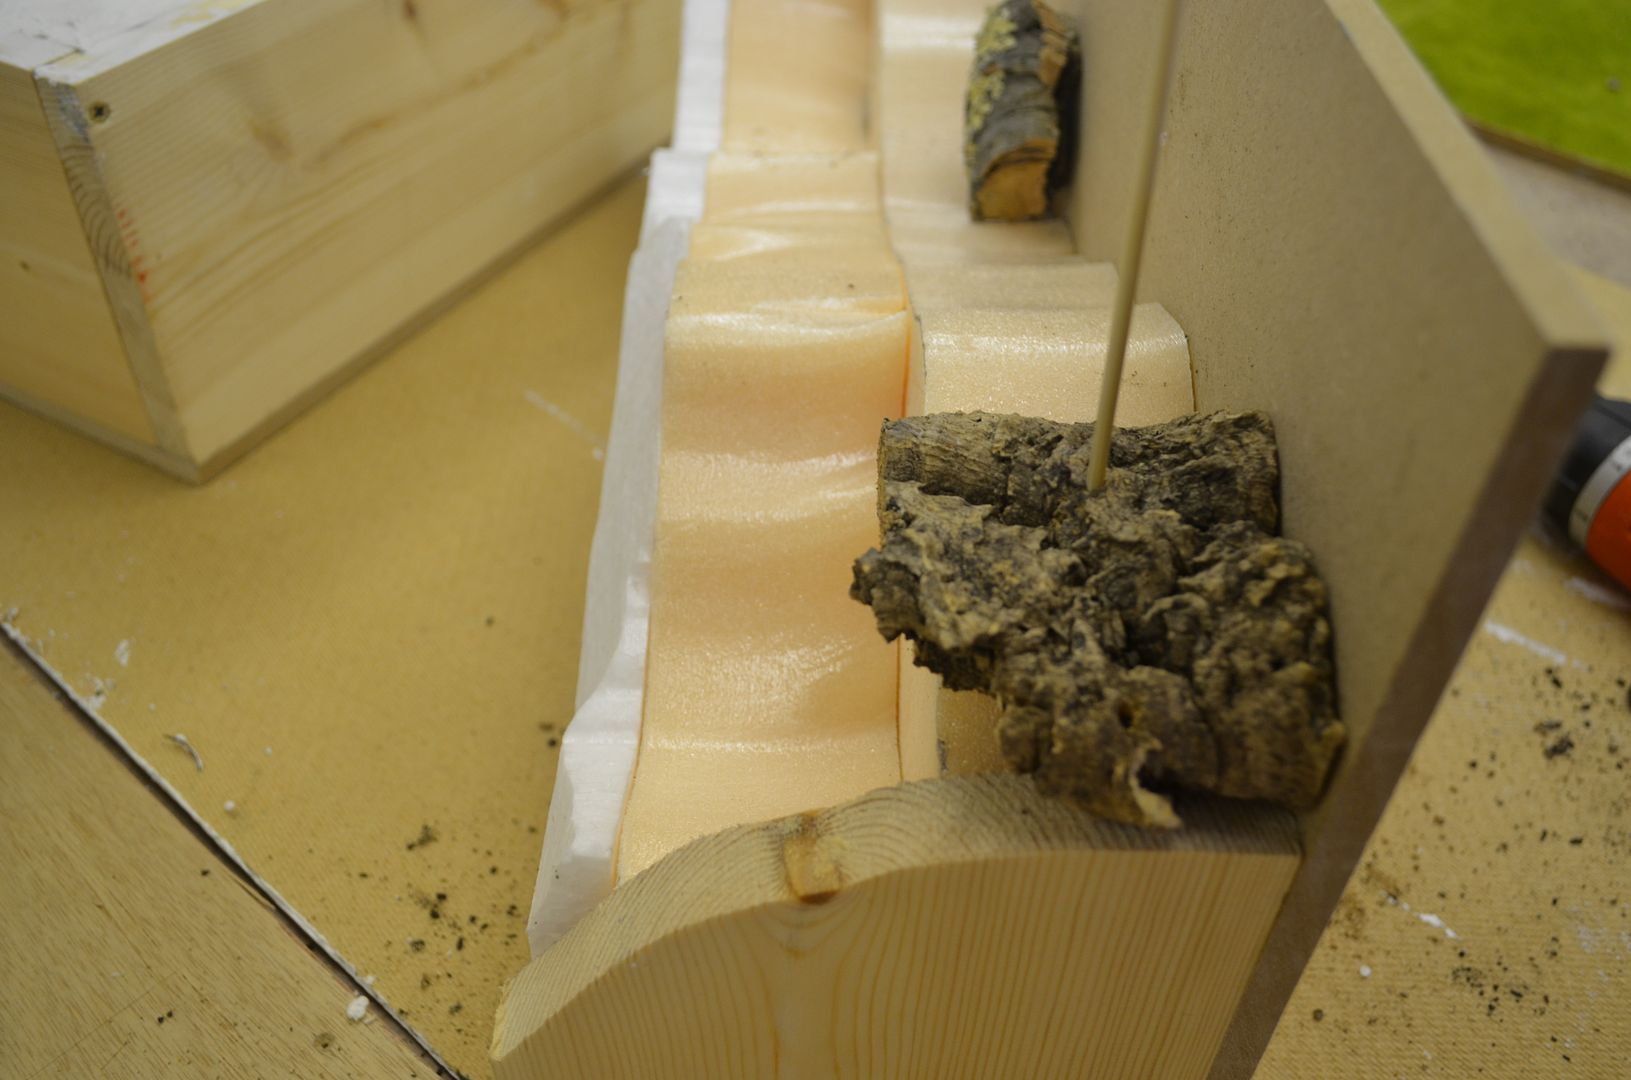 |
| Drive a skewer through a drilled hole - you can also see the sandwich of foam in this picture |
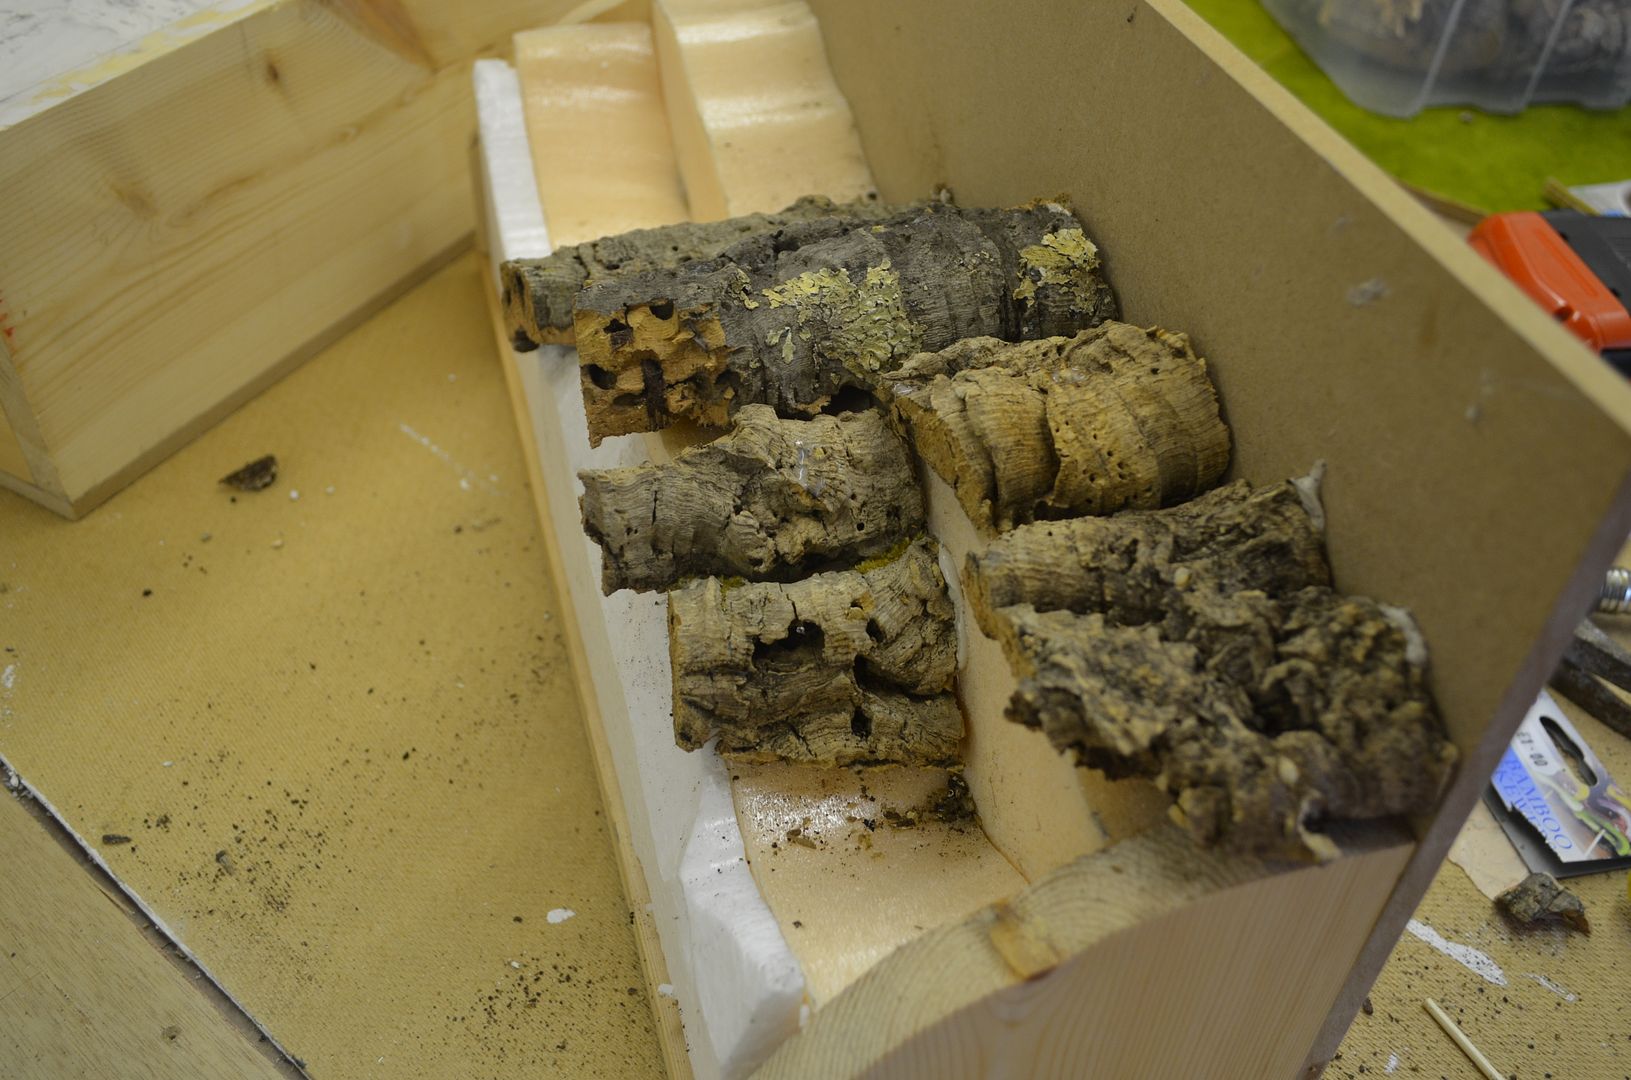 |
| The skewers are then trimmed flush |
The cliff faces soon started to take on a life of their own.
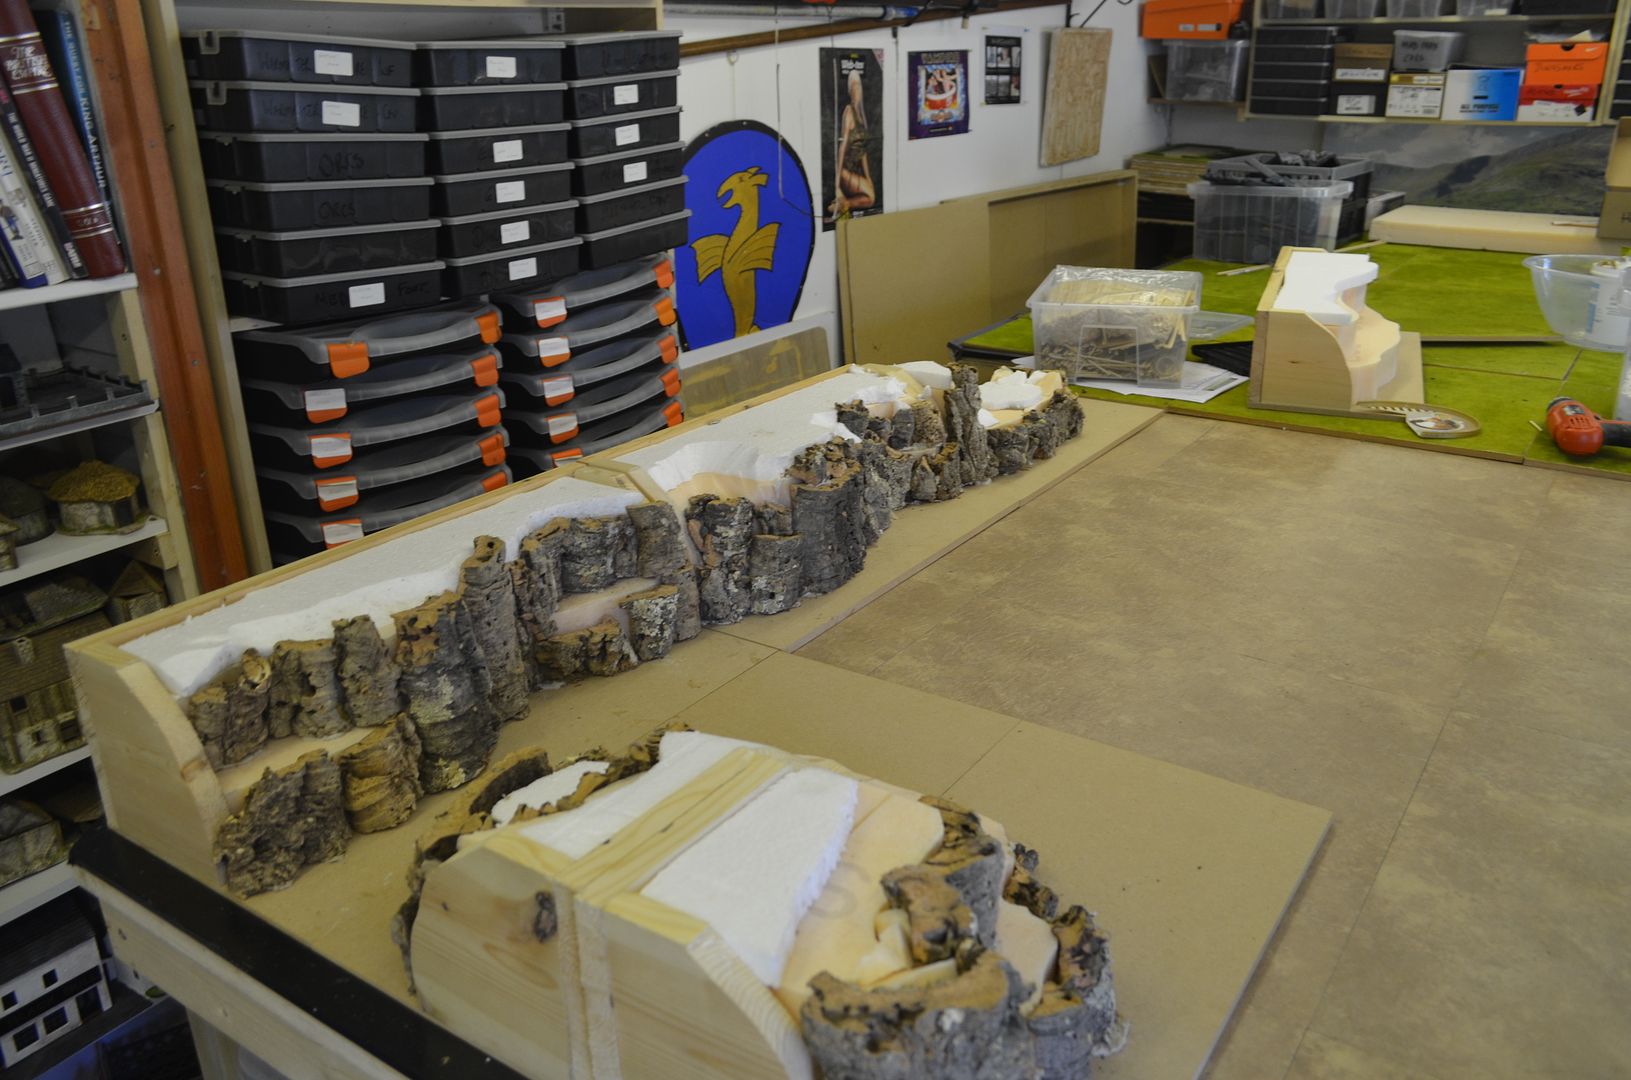 |
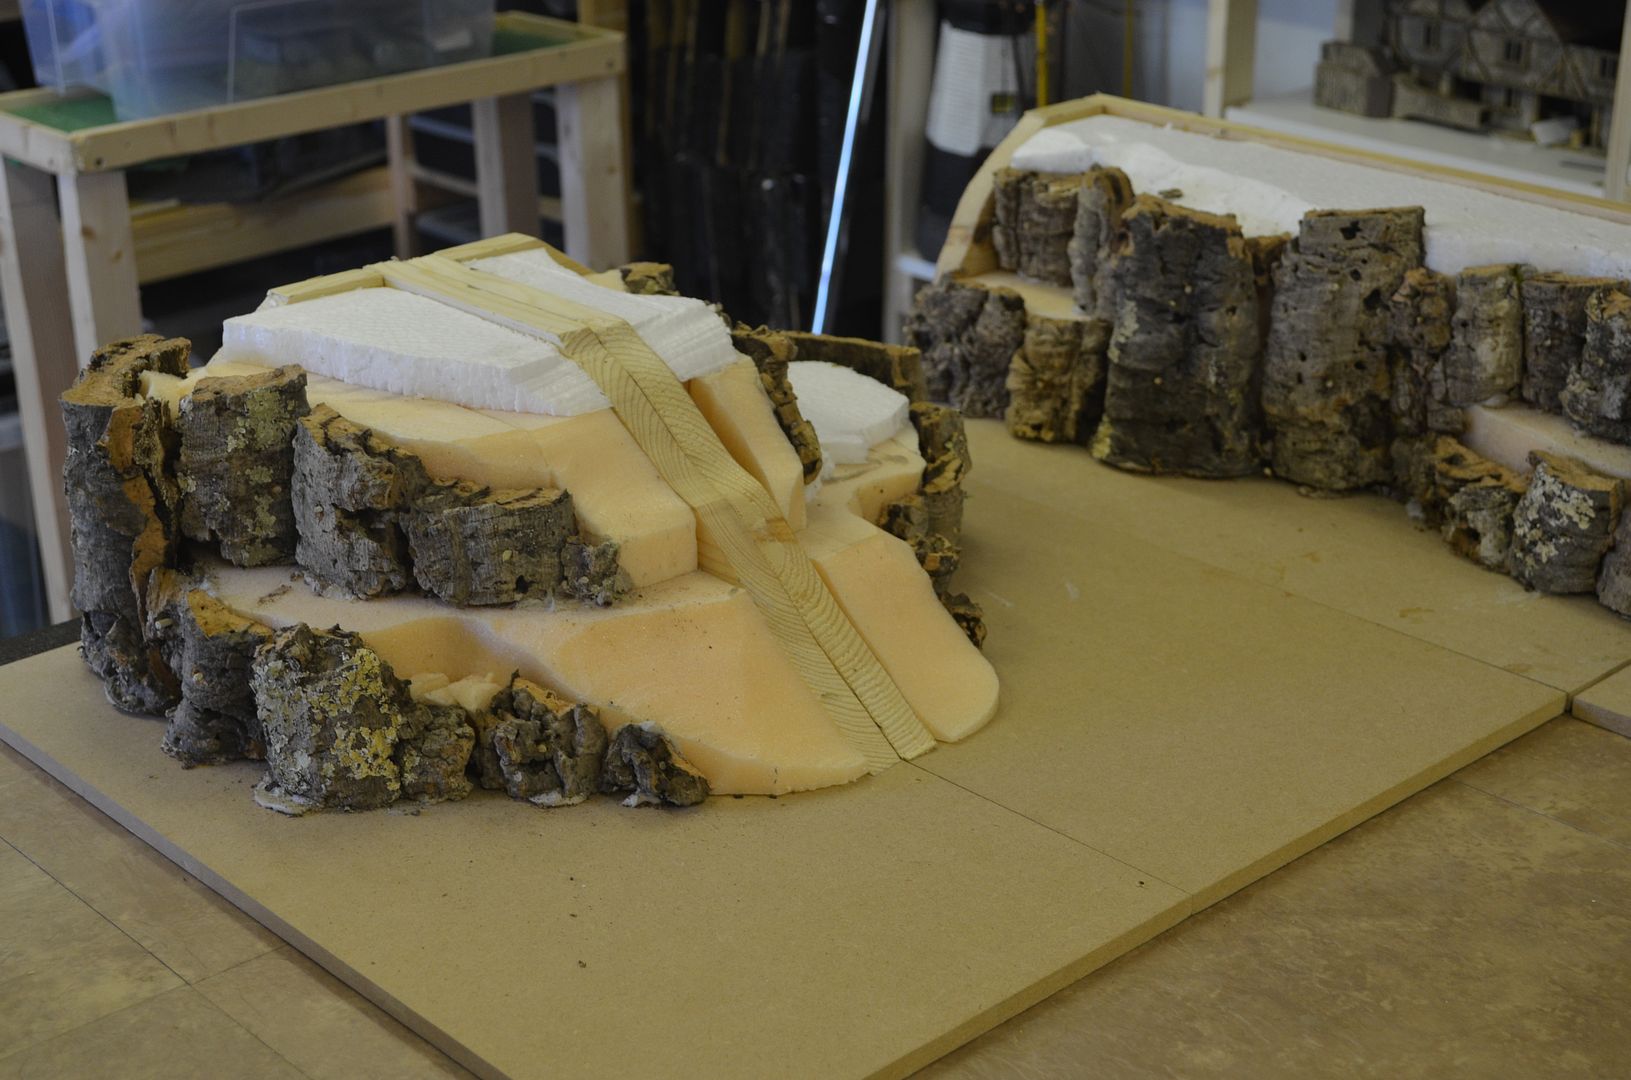
| The run consists of three modules - I am building 8 |
By playing around with the boxes I can build an infinite number of shapes,. I still need to build a few more corner pieces but I think it is starting to take shape.
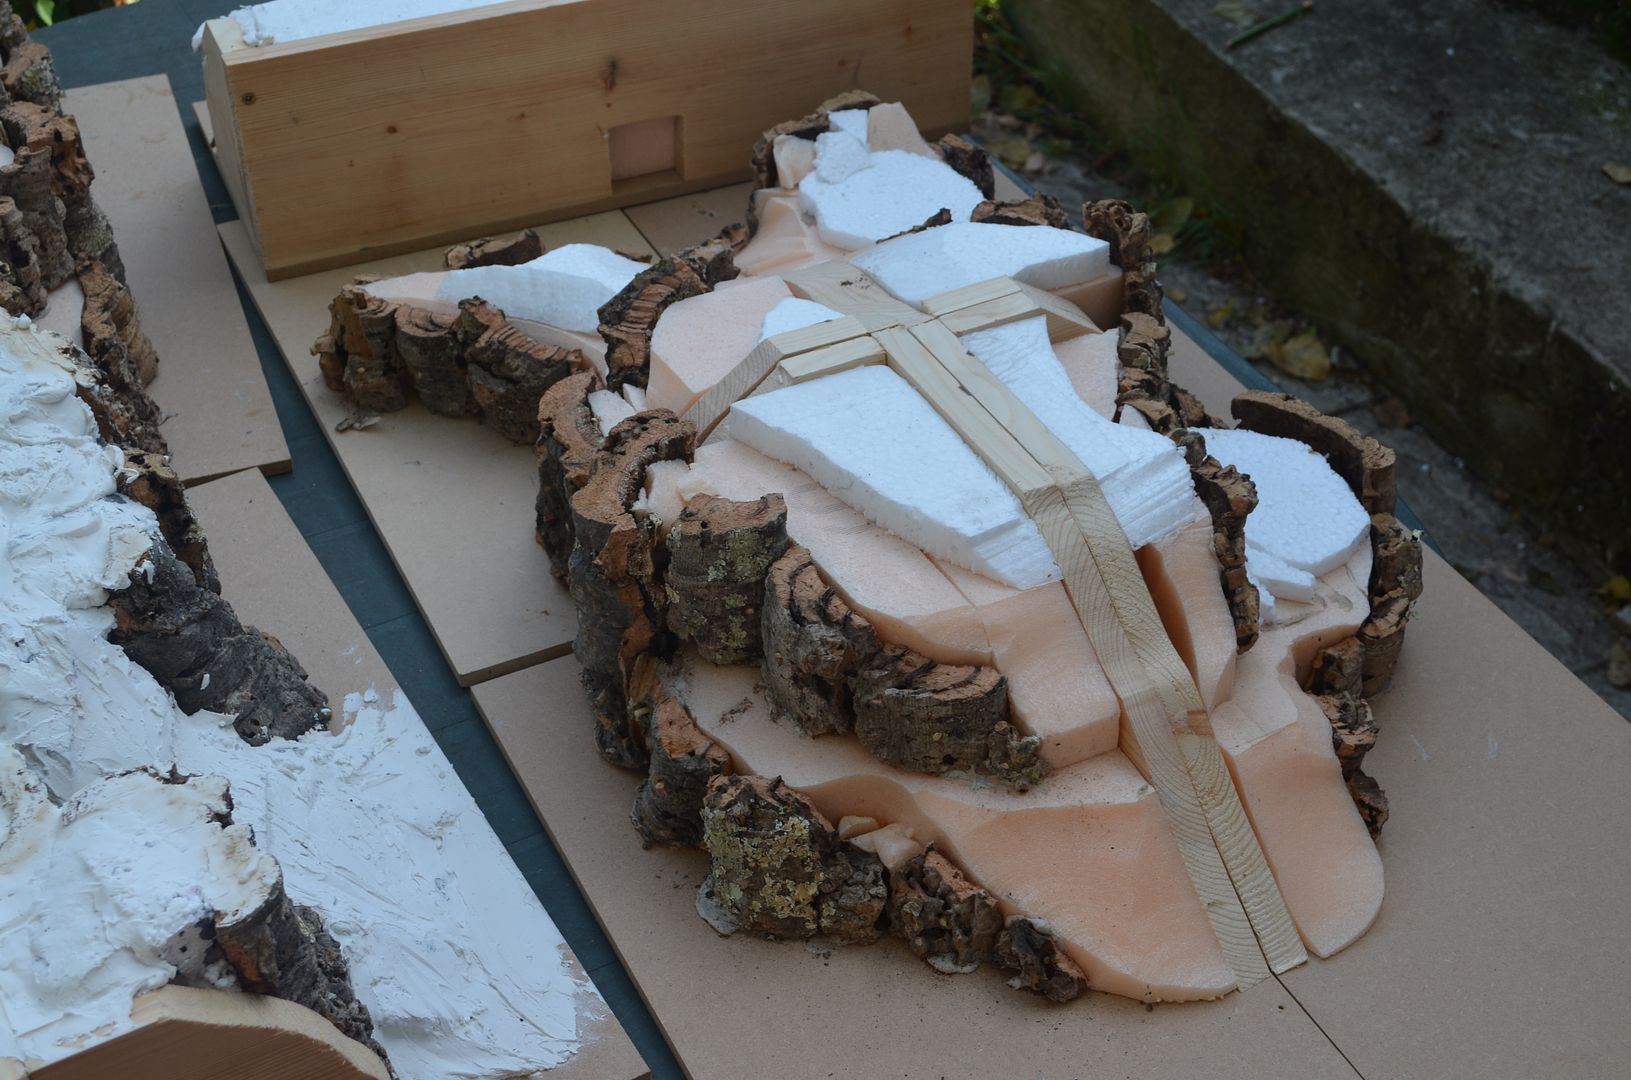 |
| A rocky outcrop - four corner pieces |
 |
| another shot of the above |
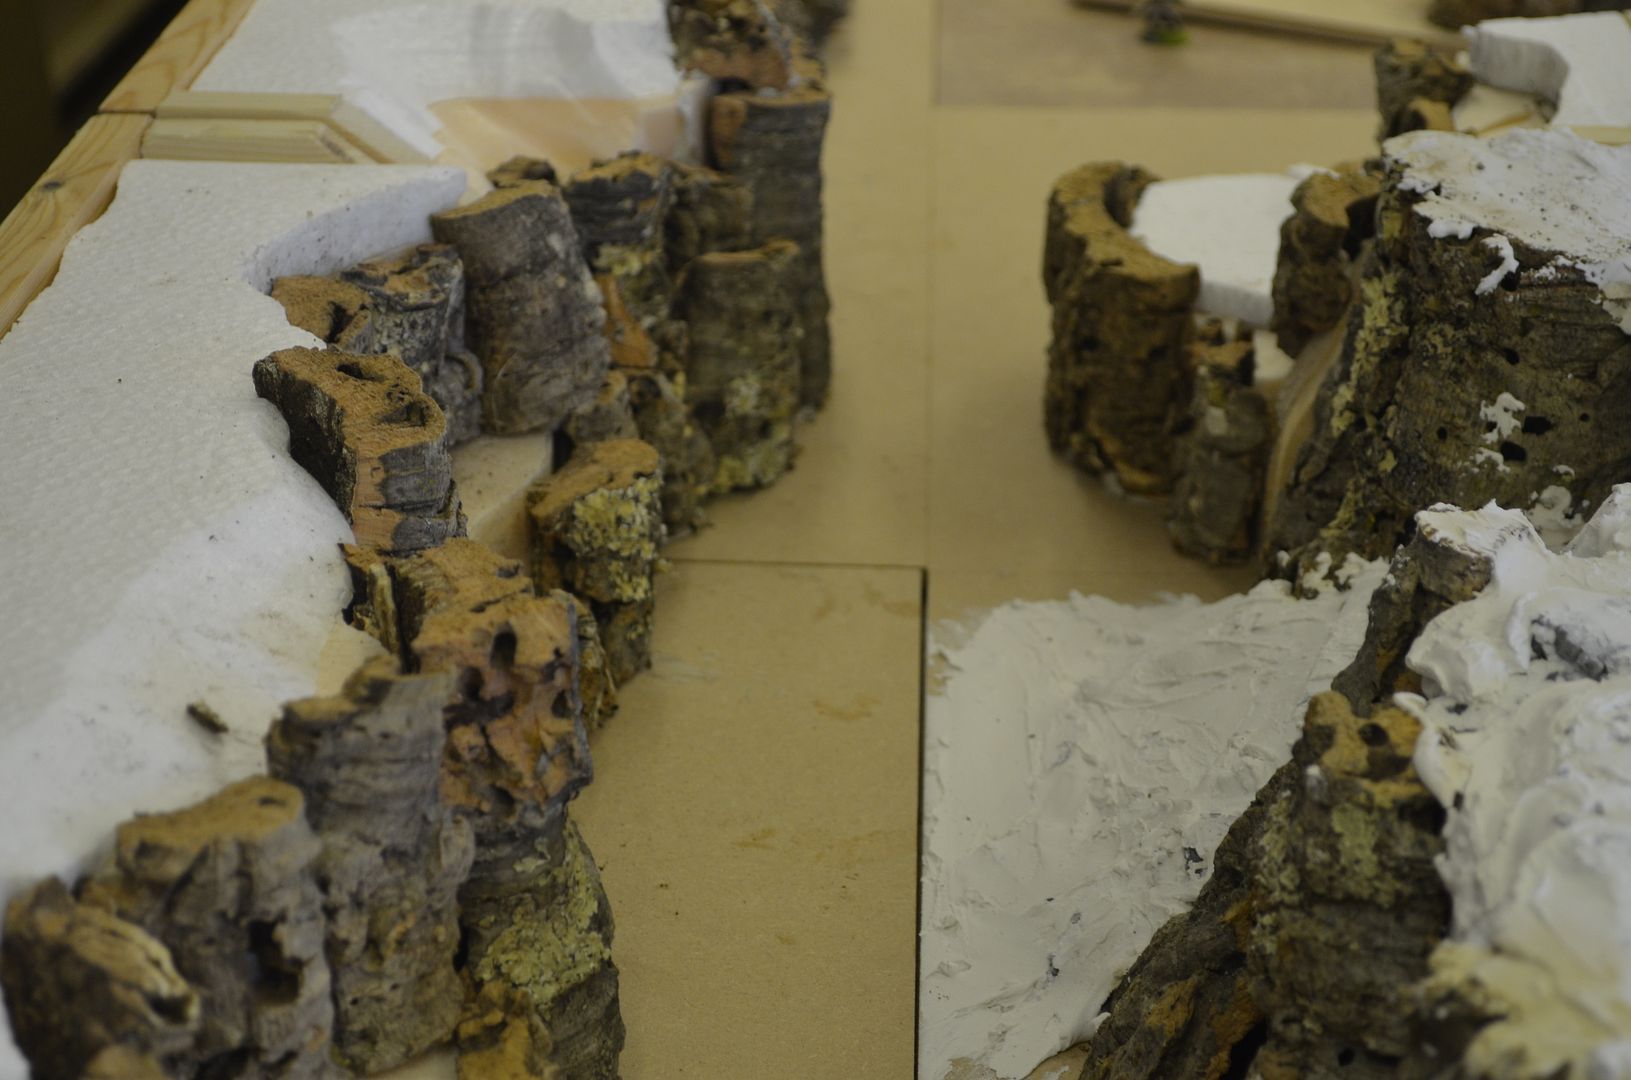 |
| A rocky canyon |
 |
| Two corners against the table edge |
 |
| A cliff wall to the front, a hill in the middle |
The next big job is to complete the filler process on these pieces ! With a bit of luck I might be able to get these done next week
Until next time
Part 3 is now done and can be found here
Part 3


0 Yorumlar